Here at Your Office Anywhere we’ve been configuring, supporting and managing remote desktops in one form or another since the Terminal Services edition of Windows NT4 came out in the last century. We have a lot of resources on our site to help businesses with remote working challenges. In this particular article we’re going to show you how to setup Remote Desktop on Windows 11.
The video below shows all the steps to configure Remote Desktop in Windows 11, but if you prefer step by step guide then we’ve included each step further down the article.
Many businesses are using Remote Desktop to enable people working from home to connect to their work PCs when they need to run business applications that have shared data or databases. For some businesses this seems to work well, but for others the performance and technical challenges cause frustration amongst the users. For a real alternative See our Hosted Desktop page on our site to see how using “Hosted” Remote Desktops can make remote working and home working a breeze.
Setting up Remote Desktop in Windows 11
Before we start I need to mention that Remote Desktop is only available in Windows 11 Pro. It is not available in Windows 11 Home. You can use the Home edition to connect to a computer with Remote Desktop but not the other way round.
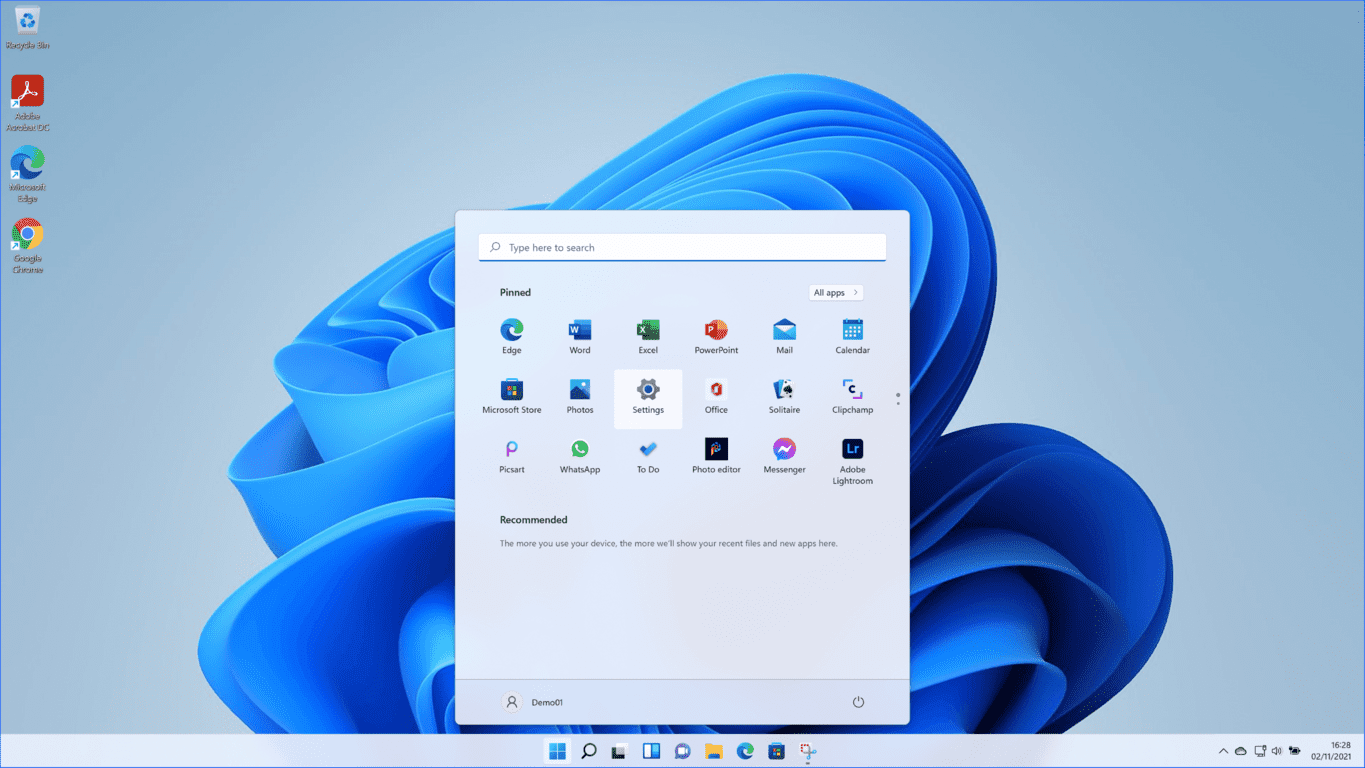
Start by opening the Setting menu from the Start Menu. Or search on “settings” or press the Windows key + Pause/Break key
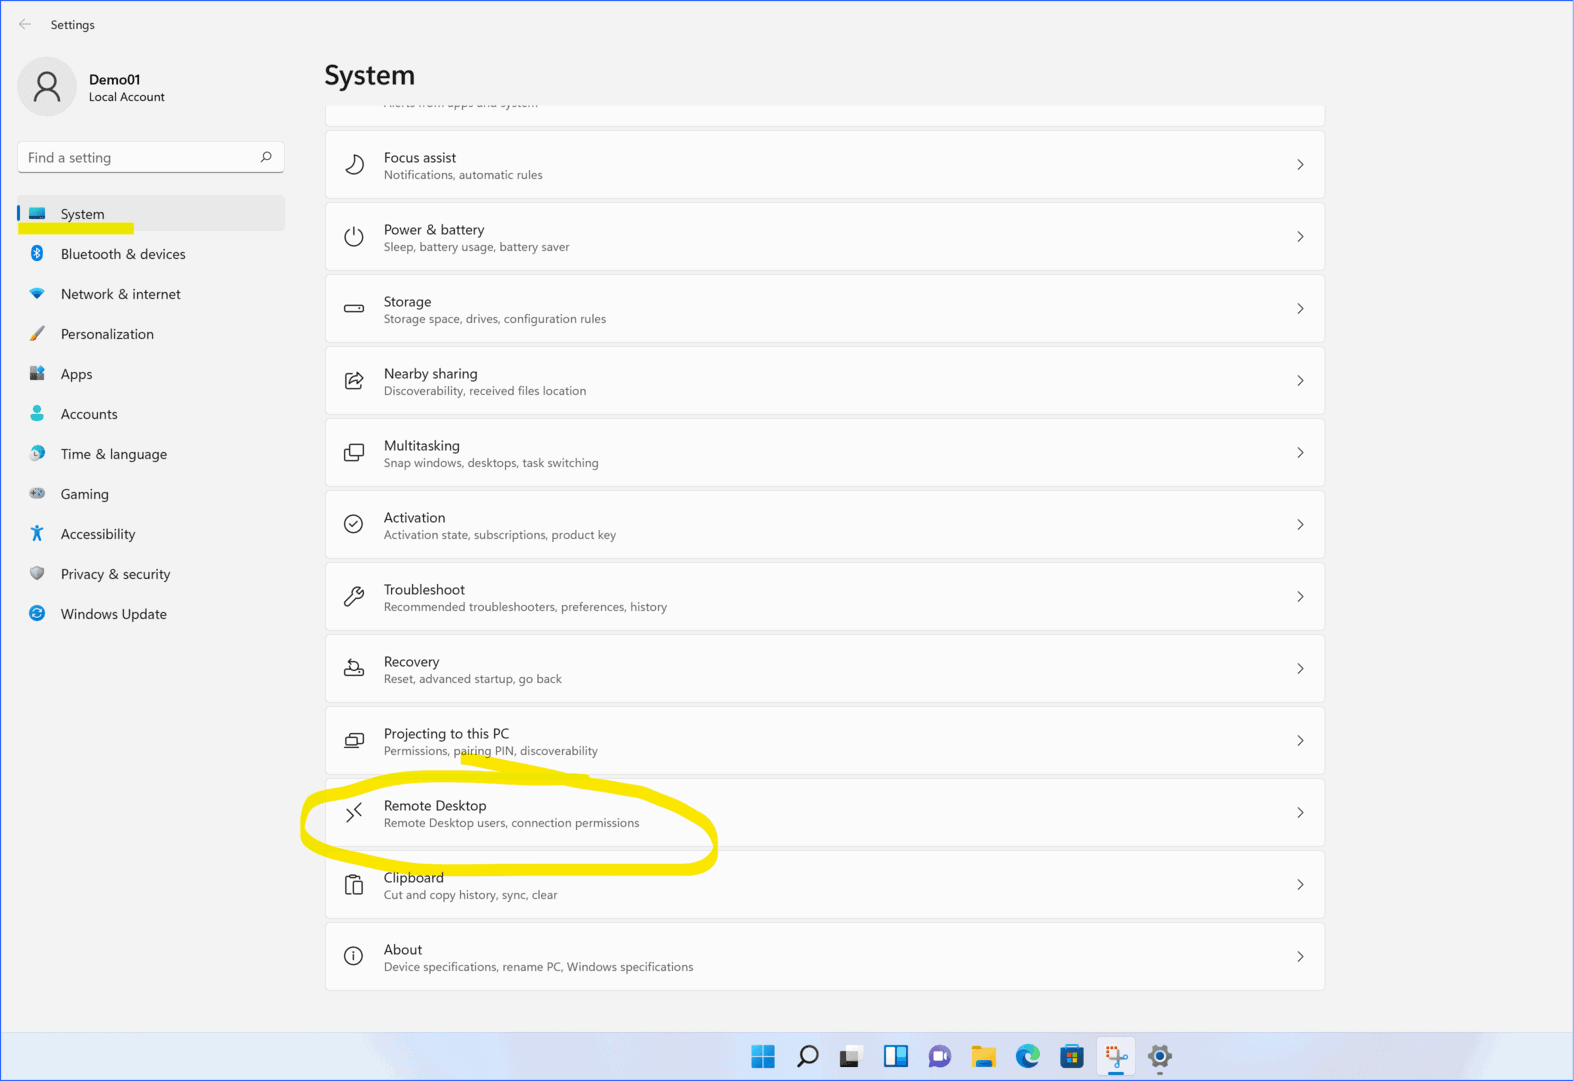
Scroll down to Remote Desktops close to the bottom of the list
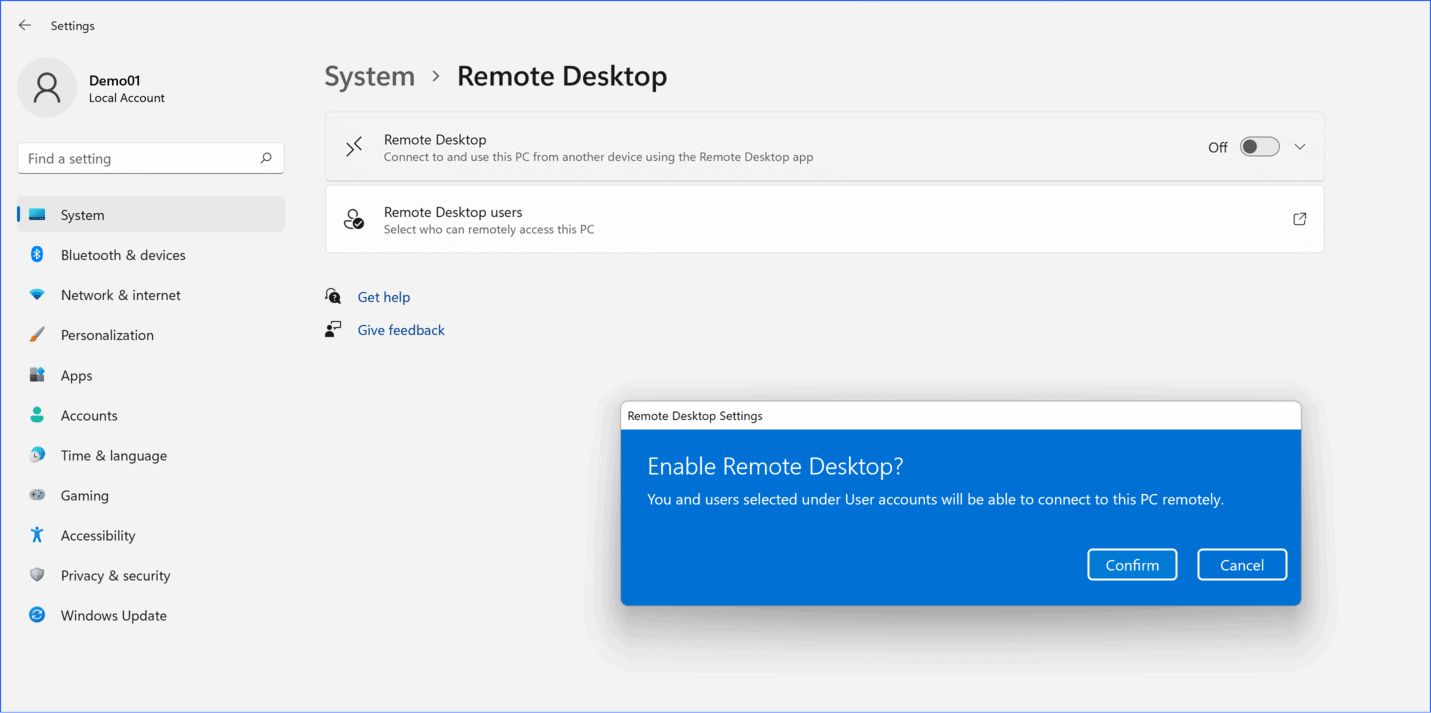
Toggle the on/off switch to on
Note the warning about “you and other selected users will be able to connect to this PC remotely” what this is really saying is that any user who has administrator permissions will be able to connect remotely, whether you want them to or not. So if you have other users in your household, children perhaps, who admin permission with their logon to your PC, make sure they have strong passwords so reduce risk of someone trying to hack in with their account.
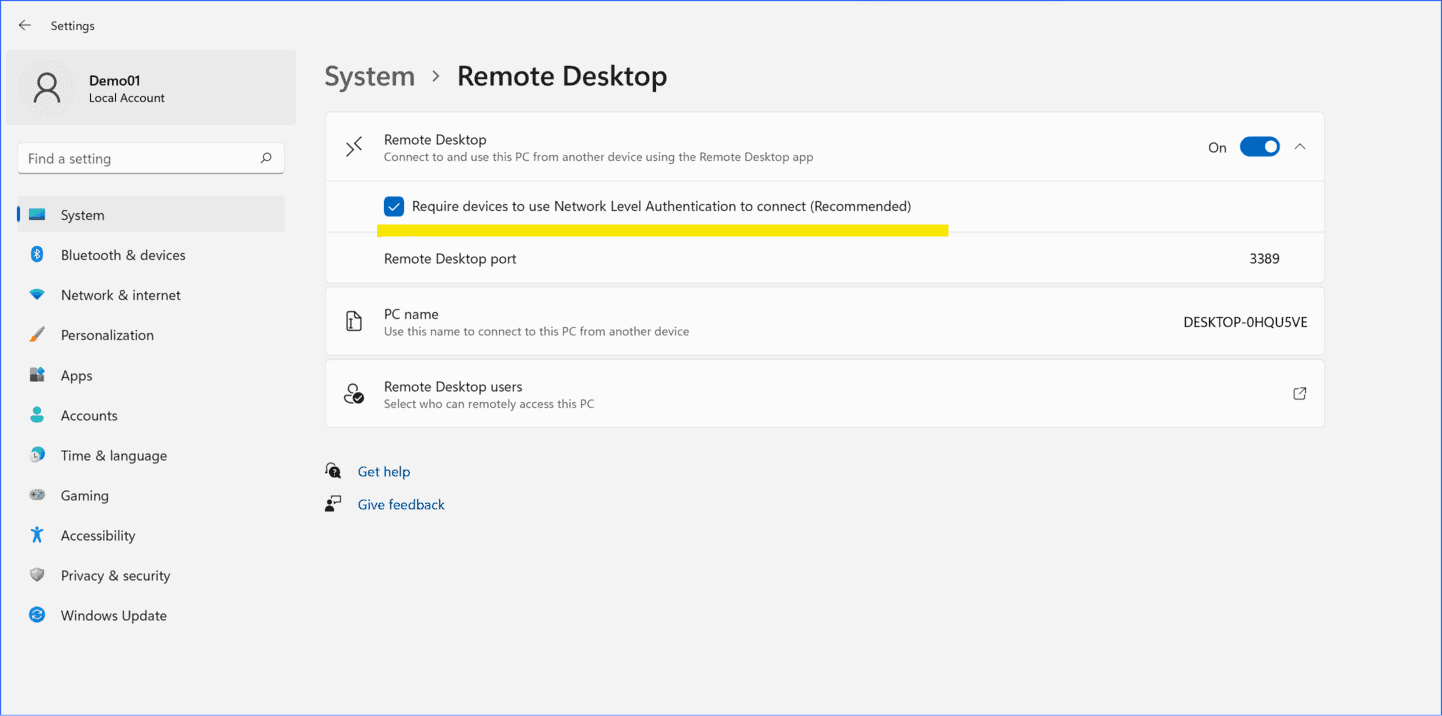
Next make sure Network Level Authentication (NLA) is ticked.
When you log on to a PC you usually get the pretty picture in Windows while you enter your username and password. Generating a remote desktop “session” like this takes up a lot of CPU and RAM resources. If some virus on your home network was trying repeatedly to logon to your PC with random usernames and passwords your PC would very quickly grind to a halt. Basically this would be a denial of service attack.
What NLA does is check the username and password is correct before starting that logon session to reduce the impact of a DoS attack.
At this stage you can also add other users, i.e. user accounts that don’t have admin permissions, to let those accounts connect remotely.
That’s it. Your Windows 11 PC is now configured for Remote Desktop.
To demonstrate how it works we’re going to connect to this PC using an Android phone, but these steps will work equally well with iOS or Mac OS.
Download the Microsoft Remote Desktop Client from the app store or Google Play, and install and open it.
This is the RD Client third icon along on an Android phone
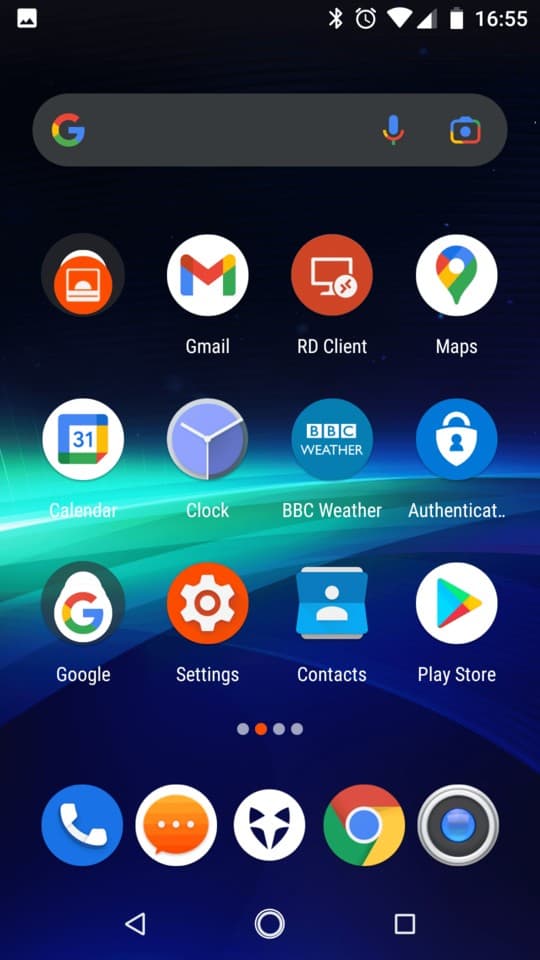
Tap to open
Click the + in the top right corner
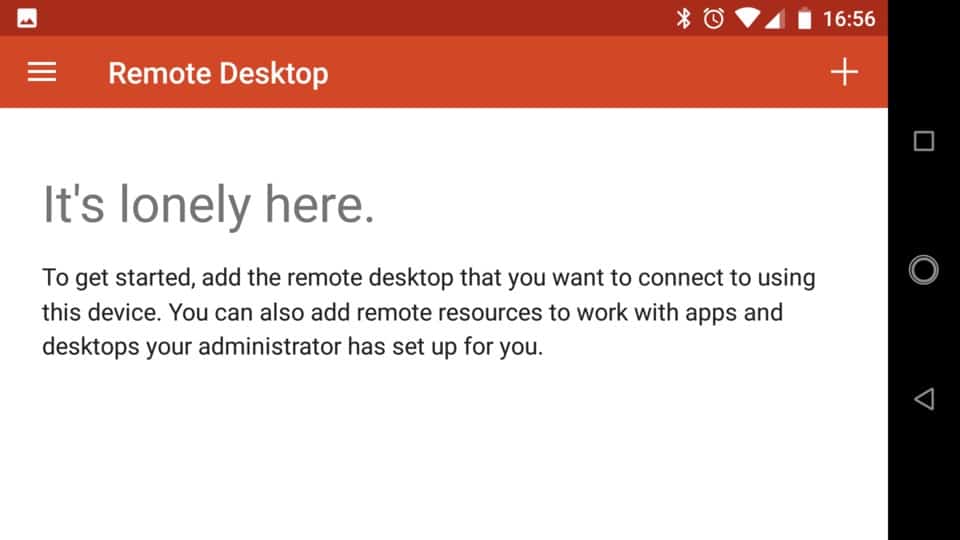
Select Desktop
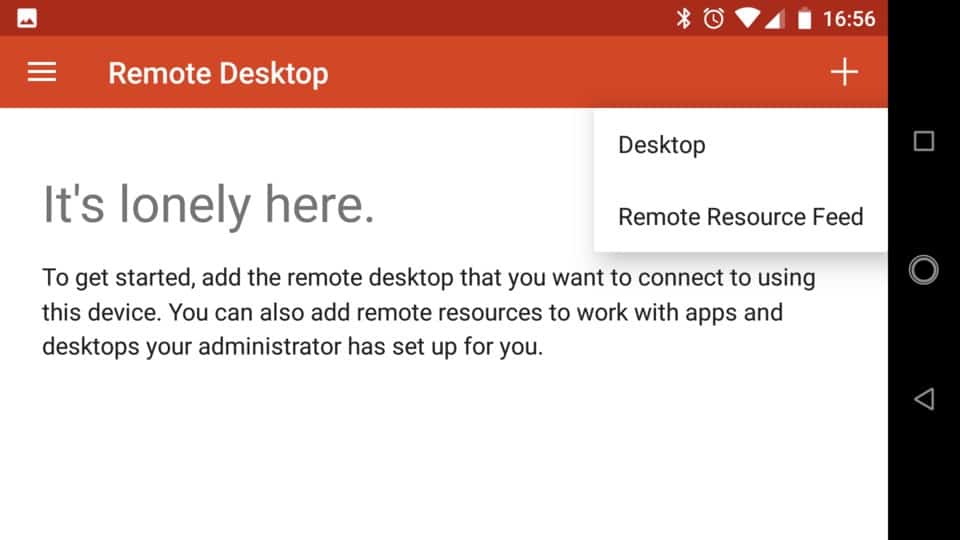
If you have desktop detection enabled you should see your PC listed. If this doesn’t show tap scan again, and if still no show go to the bottom of this article where I’ll show you how to enable desktop detection.
Tap the desktop name
Next add a user account by clicking the drop down arrow
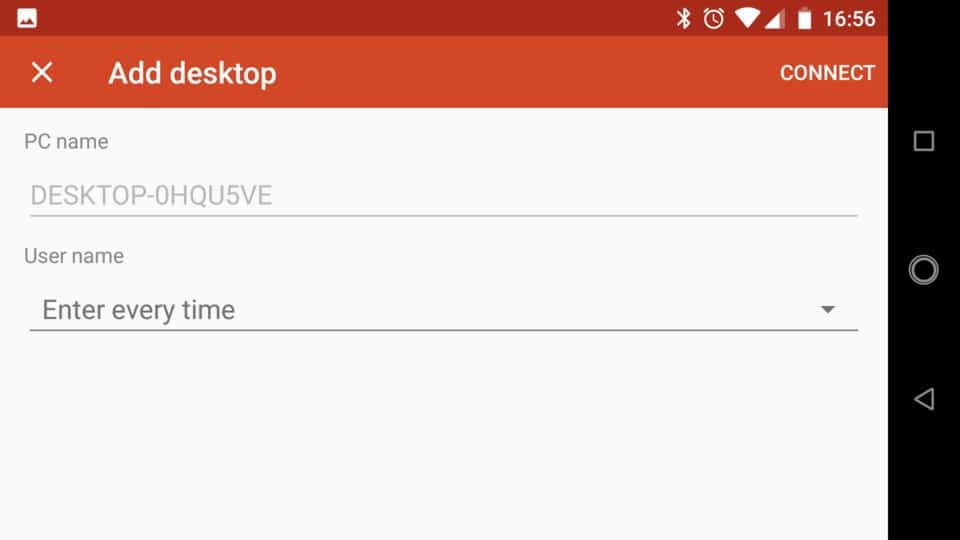
You can use the normal username and password you use for your PC. Note if Windows lets you sign in with a PIN, this won’t work, you will have to use your proper password.
Here I’m using one I created earlier
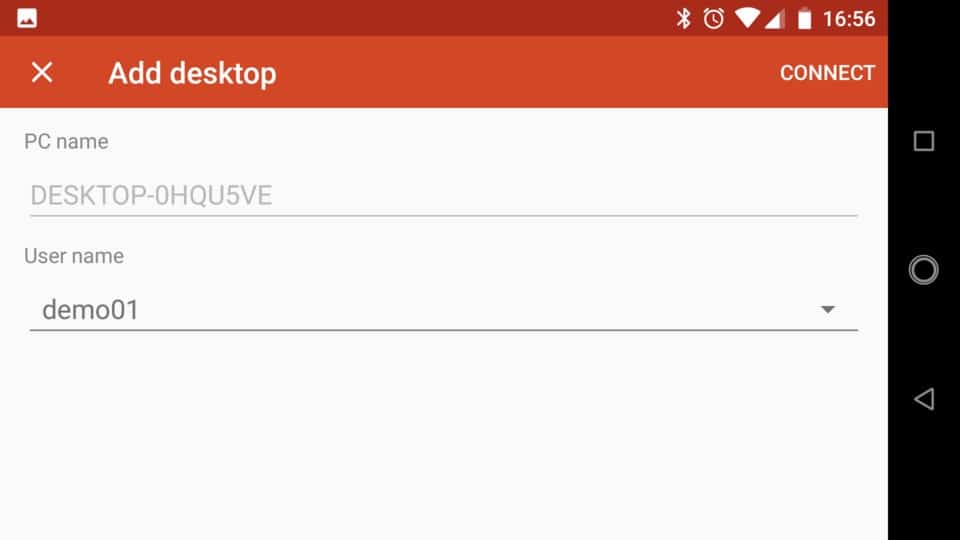
After a couple of seconds connecting you will then be able to remote control your Windows 11 PC
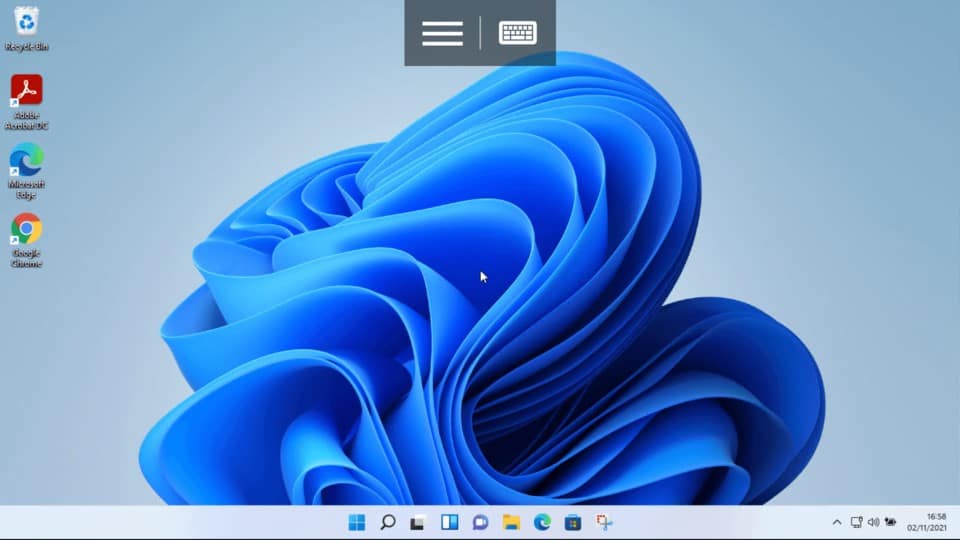
When you’re done you can either shut down, or Sign out to leave the PC running.
You can also use the Android app menu bar to disconnect from the PC leaving the applications running in the background.

The PC is remembered in the app ready for next time

If you are having trouble detecting your PC then you can check to make sure the PC is detectable.
Search in Windows for Control Panel

Select Network and Sharing Centre
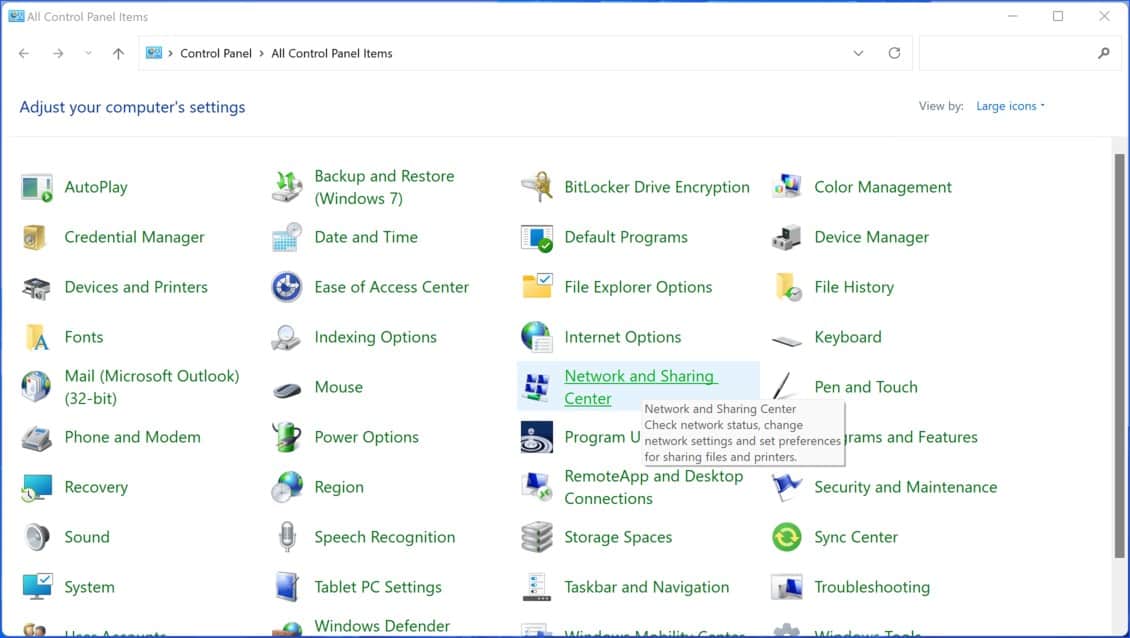
Then select Change advanced sharing settings
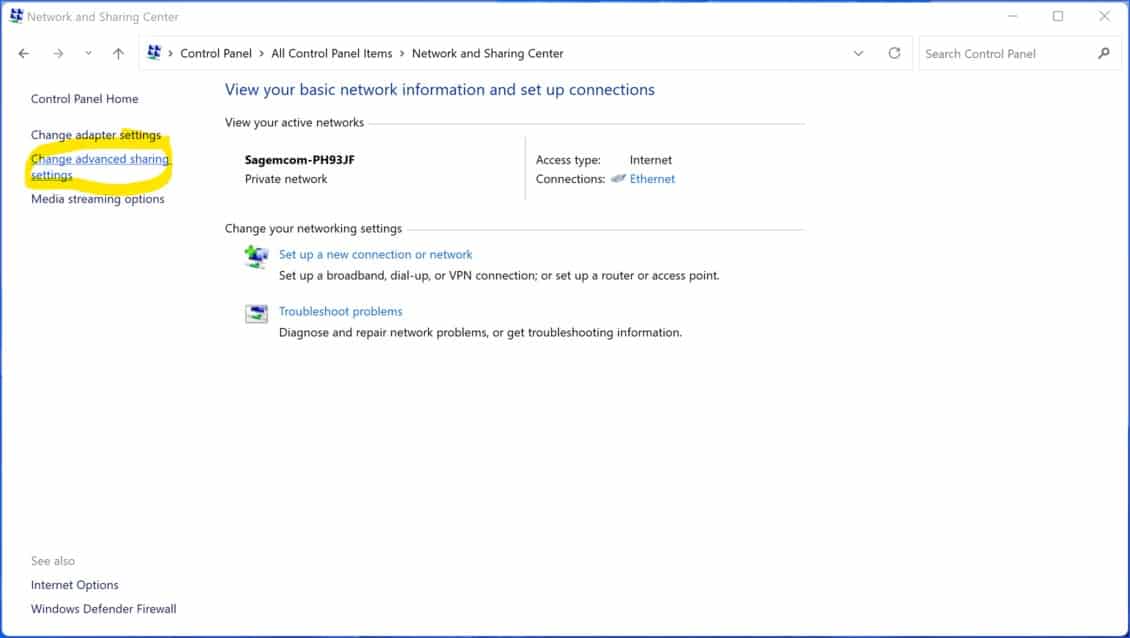
Check that Turn on network discovery and Turn on automatic setup of network connected devices is ticked.
We hope this article is useful, but don’t forget to visit our Hosted Desktops page to see how a hosted remote desktop service could be a much more effective and efficient way of working remotely.
